
Maybe a month and a half ago, I was walking around the wedding section of my local craft store and stopped to look at the flower girl baskets and ring bearer pillows. Needless to say, they were rather expensive... and nondescript... blah. So off to the Goodwill I went to find supplies to DIY these things.
Tonight I'll be talking about the Ring Pillow. I first decided I wanted to DIY this after seeing these on pinterest.
 |
| via: Whollykao |
The next plan was to use felt. My best friend brought the idea of felt flowers to my attention a while ago and I absolutely loved them :) So I figured that if we all have felt bouquets and boutonnieres adding other felt touches would be a great idea. Oddly, when I started making the felt pillow, I fell into a flow and it just came together. Yay me!
Materials
2 pieces of felt
Fiberfill pillow stuffing
Green thread
Green embroidery thread
Embroidery needle
Thin green ribbon
Shamrock patterns large and small
Letter patterns
Tissue paper
Scissors
Sewing machine or sewing needle
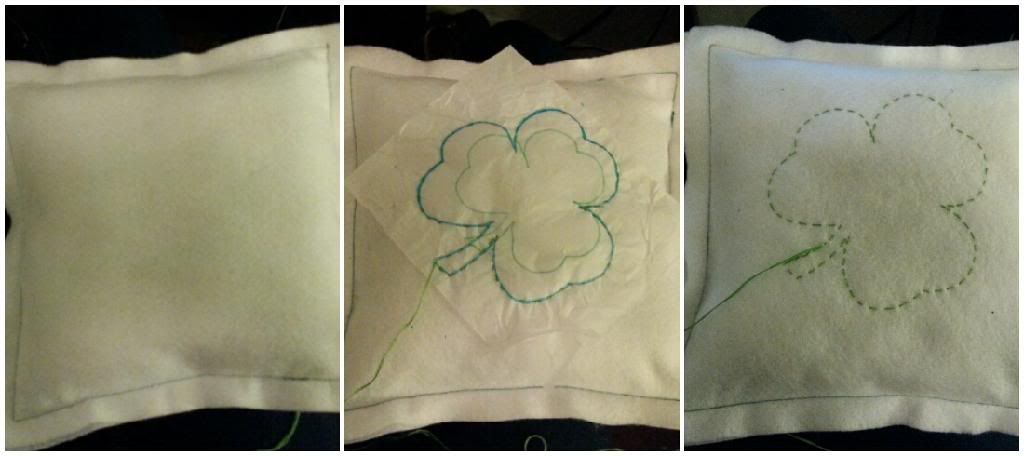 |
| 1. 2. 3. |
Steps 2-3: Trace large shamrock shape onto a piece of tissue paper & pin to top of pillow. Using the green embroidery thread, do a running stitch around the outline. After going all the way around the design, remove the tissue paper.
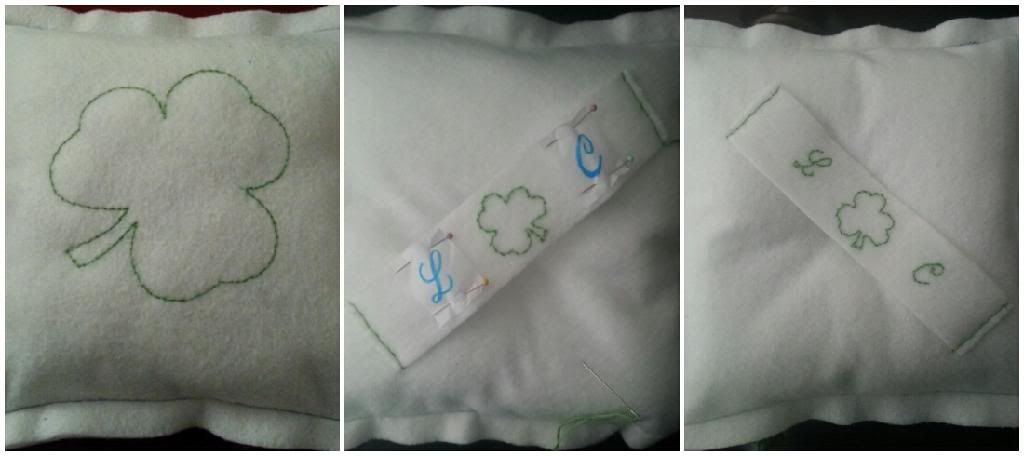 |
| 4. 5. 6. |
Step 5: Using one of the felt scraps sew a handle on the back of your pillow. Trace the small shamrock and initials onto tissue paper and pin to the handle. Stitch the designs just as you did for the large shamrock.
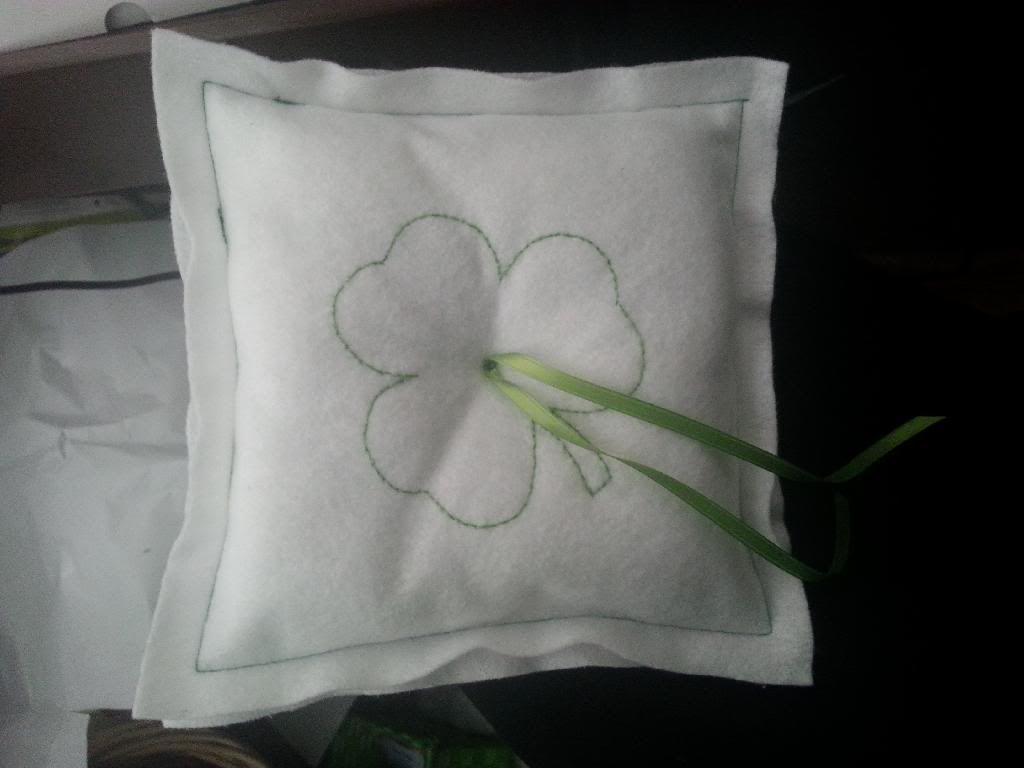 |
| Ta Da!!!! |
Step 7: Step back and admire your awesome craftiness!
There we go! I'm super proud of myself for making this! It's so cute and so me ^.^ Now I just have to settle on how I want the flower girl basket to look... :)
No comments:
Post a Comment
Thanks for your comment ^.^ They make my day!