Anywho, I have a cute little DIY refashion type project to show you :)
 |
| Supplies: Scissors, Hot glue gun, fabric, small cassette case or something similar. Not pictured: iron/ironing board. |
But first, a little back story.
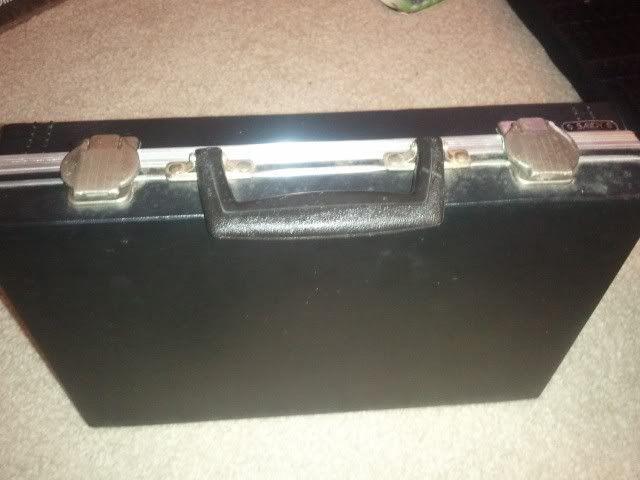
A few weeks ago, I picked up this cassette tape case at ThriftMart for $0.99 since I'd been eying all the "fabric covered suitcase" tutorials online. I figured, it's small enough to be a first try. Here's the case (I didn't take a picture of the inside because it was pretty grubby).
 |
I gutted it except for the velvet-ish fabric in the top & added a new piece of cardboard to the bottom to smooth it out. Now it was time to pick though my HUGE fabric stash for the perfect companion to the little case.
I settled on this one. It's also thrifted... I think I paid $1 or $2 for like 3 yards of it a while ago. Anyway, I covered the inside with it.
 |
| Fabric swatch. |
So, after cutting/folding/pressing the fabric, I glue it in place. As a finishing touch I cut out a couple of the big flowers from the center motif & glued them to the lid.
 |
| Finished! Hurray! |
But seriously, it feels really good to get that creative time in tonight especially since work was particularly draining today. Since deciding to remove the specific "Have To's" from this blog, I feel a freshness. Now it is just day one of this time of renovation, but it's good.
Now, for anyone that may want to do this project, here are the steps. It's really, really simple.
- Remove any messed up original lining & thoroughly clean your case.
- Pick a piece of fabric for your new lining. Cut it to fit the bottom of your case with an additional inch on all sides. (It's fine to eye this. I didn't do any real measurements at all. Sewing teacher be shamed, lol)
- Fold each of your sides in one inch (right sides together) & press the fold with an iron.
- Fold each of your ends back the other way 1/2 inch (wrong sides together) & press that fold.
- Use hot glue to hold the extra bits of fabric in your corners. Now you have a fabric box that can fit in the bottom of your case.
- Drop the lining box into the case & hot glue around all the sides.
- Cut out a design from your fabric scraps & hot glue onto your lid. And wham bam, you're done!
~Goodnight :)

No comments:
Post a Comment
Thanks for your comment ^.^ They make my day!